The Comprehensive Guide to Stainless Steel Coil Slitting for Manufacturers
Need custom-width stainless steel coils? Using master coils is inefficient and wasteful, hurting your bottom line. Slitting provides precise, cost-effective strips perfectly tailored for your production line.
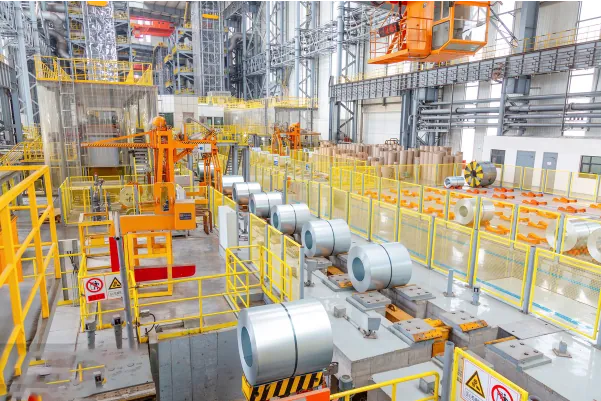
Stainless steel coil slitting is a metal cutting process where a large master coil is fed through a slitting machine and cut into multiple narrower strips using rotary knives. Mastering this technique is crucial for manufacturers to optimize material usage, reduce waste, and produce components with high precision.
Hello, I'm Cosmos, the Global Business Director at MFY. In my years of navigating the global steel market, I've seen firsthand how a seemingly simple process like slitting can become a massive competitive advantage. It’s not just about cutting metal; it's about unlocking agility, precision, and cost-effectiveness in your entire manufacturing workflow. Today, I want to move beyond the basics and show you how to view slitting as a strategic enabler for your business, helping you respond faster to market demands and innovate your products. Let's explore how to master this pivotal process together.
What Are the Basics of Stainless Steel Coil Slitting?
The term "slitting" can sound technical and complex. Misunderstanding the fundamentals can lead to costly operational errors. In reality, it's a straightforward process of cutting a master coil into narrower strips.
At its core, stainless steel coil slitting is a shearing operation. It involves passing a wide master coil through a set of extremely sharp, circular blades (knives) mounted on two parallel arbors. These knives make precise, longitudinal cuts to produce narrower coils, or "strips."
Dive Deeper into the Fundamentals
Slitting is the foundational step that transforms a standardized mill product into a customized raw material for a specific manufacturing application. For industries like automotive, appliance manufacturing, or construction, getting this step right is non-negotiable. The entire downstream production line depends on the quality and precision of the slit coils they receive.
The Core Principle: Rotary Shearing
The magic happens between two rotating arbors, one upper and one lower. Knives are mounted on these arbors with incredibly precise spacing, which dictates the width of the final strips. As the stainless steel sheet passes between them, the overlapping knives create a clean shearing action. The key is maintaining the perfect horizontal and vertical clearance between the knives to ensure a clean cut with minimal burr[^1]—a rough edge that can cause major problems in later forming or stamping processes.
Key Slitting Terminology
Understanding the language of slitting is essential for clear communication with your suppliers and production team. Here are a few critical terms:
| Term | Definition |
|---|---|
| Master Coil | The original, wide coil of stainless steel received from the mill. |
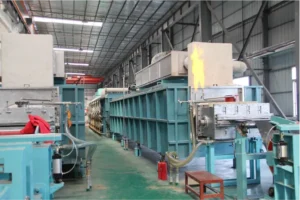
| Slitter | The machine that performs the cutting operation. |
| Knives | The hardened, circular cutting tools mounted on the arbors. |
| Arbor | The shaft on which the slitting knives and spacers are mounted. |
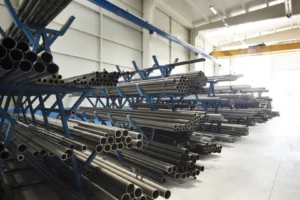
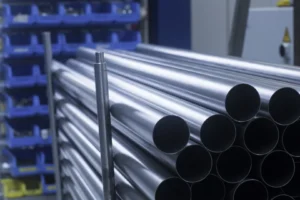
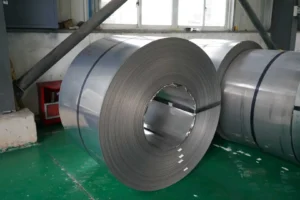
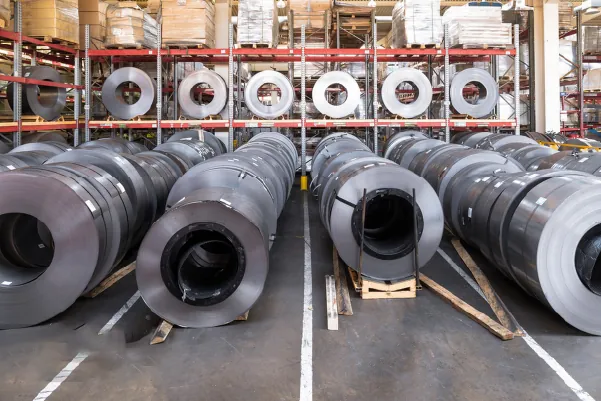
| Slit Coils / Strips | The narrower coils produced after the slitting process. |
| Burr | A slight, sharp ridge of metal left on the edge of the strip after cutting. |
At MFY, we don't just see this as a mechanical procedure. We view it as the first, most critical stage of customization. It's where a raw material begins its journey to becoming a high-performance part in a car, a durable component in a building, or a sleek panel on a home appliance.
How Do You Prepare Equipment and Materials for Slitting?
Rushing into the slitting process without proper preparation causes defects. This poor prep work can ruin expensive material and even damage your equipment, leading to significant financial losses and downtime. A systematic preparation checklist ensures a smooth, high-quality run every time.
Proper preparation involves a dual focus: meticulously inspecting the stainless steel master coil for any defects and precisely calibrating the slitting machine. This includes verifying material grade, gauge, and surface finish, as well as setting the correct knife clearance, spacing, and tension controls for the job.

Dive Deeper into Preparation
Preparation is where excellence is forged. Taking the time to get this right prevents a cascade of problems down the line. I remember a partner in Germany who, in a rush to meet a deadline, skipped the final calibration checks on their slitter. The result was an entire batch of high-value 304 stainless steel coils with excessive edge burrs. The material was rejected by their client, a major automotive supplier, leading to a costly rework and a damaged relationship. This is a lesson you only want to learn once.
Material Inspection Checklist
Before a master coil even approaches the slitter, it must undergo a thorough inspection.
- Grade & Temper Verification: Confirm the material matches the job specifications. A mix-up between 304 and 316L, for instance, can be disastrous.
- Gauge Consistency: Use a micrometer to check the thickness at several points across the coil's width and length. Inconsistent gauge can lead to uneven slitting.
- Surface Quality: Look for any scratches, rust, or other surface defects that could affect the final product's quality. This is especially critical for applications where aesthetics matter.
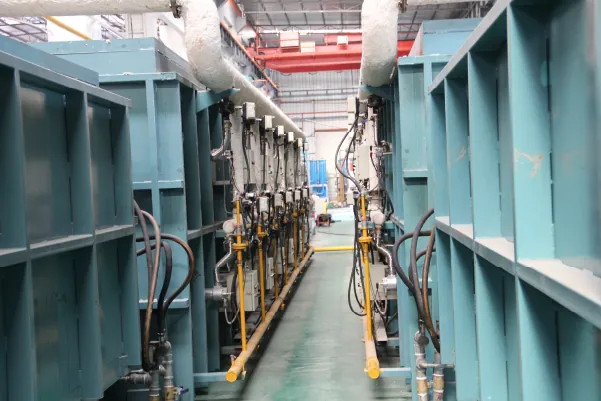
Equipment Setup and Calibration
Once the material is verified, the focus shifts to the machine.
- Knife Setup: The knives must be sharp, free of chips, and set with the correct horizontal clearance based on the material's thickness. Incorrect clearance is the number one cause of burrs and slit edge defects.
- Arbor Alignment: The upper and lower arbors must be perfectly parallel to ensure a consistent cut across the entire width.
- Tension Control: The tension on the uncoiler and recoiler must be set precisely. Too little tension can cause loose, unstable coils, while too much can stretch the material and cause "necking," where the strip narrows.
This methodical approach isn't just about preventing defects; it's about establishing a repeatable, high-quality process that builds trust with your customers.
What Are the Detailed Steps in the Slitting Process?
The actual slitting process can seem like a black box. Not understanding the sequence of operations makes it incredibly difficult to identify and troubleshoot issues as they arise. Let's break down the process step-by-step, from loading the master coil to recoiling the finished strips.
The slitting process follows a clear sequence: 1) The master coil is loaded onto an uncoiler. 2) The material is threaded through the slitter head containing the knives. 3) The knives perform the cut. 4) The resulting narrow strips are guided by separators and wound onto a recoiler.
Dive Deeper into the Process Flow
Each step in the slitting process is a critical link in a chain that determines the final quality of the slit coils. As the material moves through the line, control over speed, tension, and alignment is paramount. This is where the operator's skill, combined with modern machine technology, truly shines. It's this precision that allows manufacturers in demanding sectors to meet the stringent design requirements for their components.
Step 1: Loading and Uncoiling
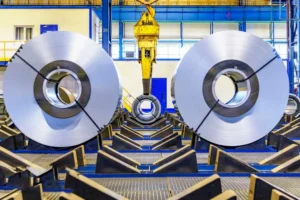
The process begins by loading the heavy master coil onto the uncoiler, or payoff reel. This is typically done with an overhead crane or a coil car. Once secured, the uncoiler carefully pays out the steel into the slitting line, with a brake system maintaining proper back tension to keep the strip flat and controlled.
Step 2: The Slitting Action
As the strip enters the slitter head, it passes between the precisely configured knives on the arbors. The shearing action occurs here. The speed of the line is carefully controlled based on the material's thickness and hardness. Thicker or harder materials generally require slower speeds to ensure a clean cut and minimize stress on the equipment.
Step 3: Guiding and Recoiling
After being cut, the narrow strips pass through a tensioning stand. This is a crucial step. It ensures that each individual strip is pulled tight before being rewound. Separator discs on the recoiler arbor keep the slit strips from intertwining and creating a "telescoped" or uneven coil. The strips are then tightly wound onto the recoiler, forming the final slit coils. The edge scrap from both sides is typically wound onto a separate scrap baller or chopper for recycling, a key part of optimizing material usage.
This controlled, step-by-step process is what turns a bulk commodity into a semi-finished product ready for high-precision manufacturing.
What Are the Essential Quality Control Measures During Slitting?
Slit coil quality can vary significantly if not monitored. Poor quality, such as inconsistent width or bad edges, leads to production halts, damaged tooling, and rejected parts on your assembly line. Implementing rigorous quality control checks during the process is absolutely non-negotiable.
Essential quality control measures include continuously monitoring the slit width for tolerance, checking the edge condition for burr and camber (straightness), and inspecting the surface for any scratches or defects introduced during the process. These checks should be performed at the start, middle, and end of each run.

Dive Deeper into Quality Assurance
Quality control in slitting isn't a final inspection; it's an integrated, continuous process. At MFY, we build quality into every step because we know our clients are building their reputations on the materials we provide. A small deviation in width or a minor edge burr from our facility can cause a massive bottleneck at a client's stamping plant. That's why we treat QC with the seriousness it deserves, leveraging both skilled technicians and advanced digital monitoring tools.
Key Quality Metrics
- Width Tolerance: This is the most critical metric. If a part requires a 50mm wide strip, the tolerance might be ±0.1mm. Calipers and micrometers are used for manual checks, while modern lines may use laser-based scanners for continuous, real-time measurement.
- Edge Condition: The quality of the slit edge is crucial. A burr can be a safety hazard and can interfere with forming dies. Camber, or the deviation from a straight line over a given length, can cause tracking problems in subsequent automated processes.
- Surface Integrity: The slitting process should not introduce new defects. We inspect for scratches, oil stains, or marks from the rollers that could compromise the final product's finish.
Common Defects and Solutions
A proactive approach to QC involves understanding common issues and their root causes.
| Defect | Common Cause | Solution |
|---|---|---|
| Excessive Burr | Incorrect knife clearance; dull knives. | Adjust clearance; sharpen or replace knives. |
| Camber | Uneven tension; internal stresses in the master coil. | Adjust tension stand; use master coils from reputable mills. |
| Scratches | Debris on rollers; improper handling. | Clean the line thoroughly; ensure all contact surfaces are smooth. |
| Telescoping Coil | Improper recoiler tension or alignment. | Recalibrate recoiler tension and alignment. |
By embedding these checks into the workflow, you transform slitting from a simple cutting service into a value-added manufacturing process that delivers reliable, high-quality material.
What Are the Best Practices for Post-Slitting Handling and Storage?
The job isn't finished once the coil is cut. A perfectly slit coil can be easily ruined by improper handling, turning your high-quality material into expensive scrap. Following simple but effective best practices for handling and storage is essential to protect your investment.
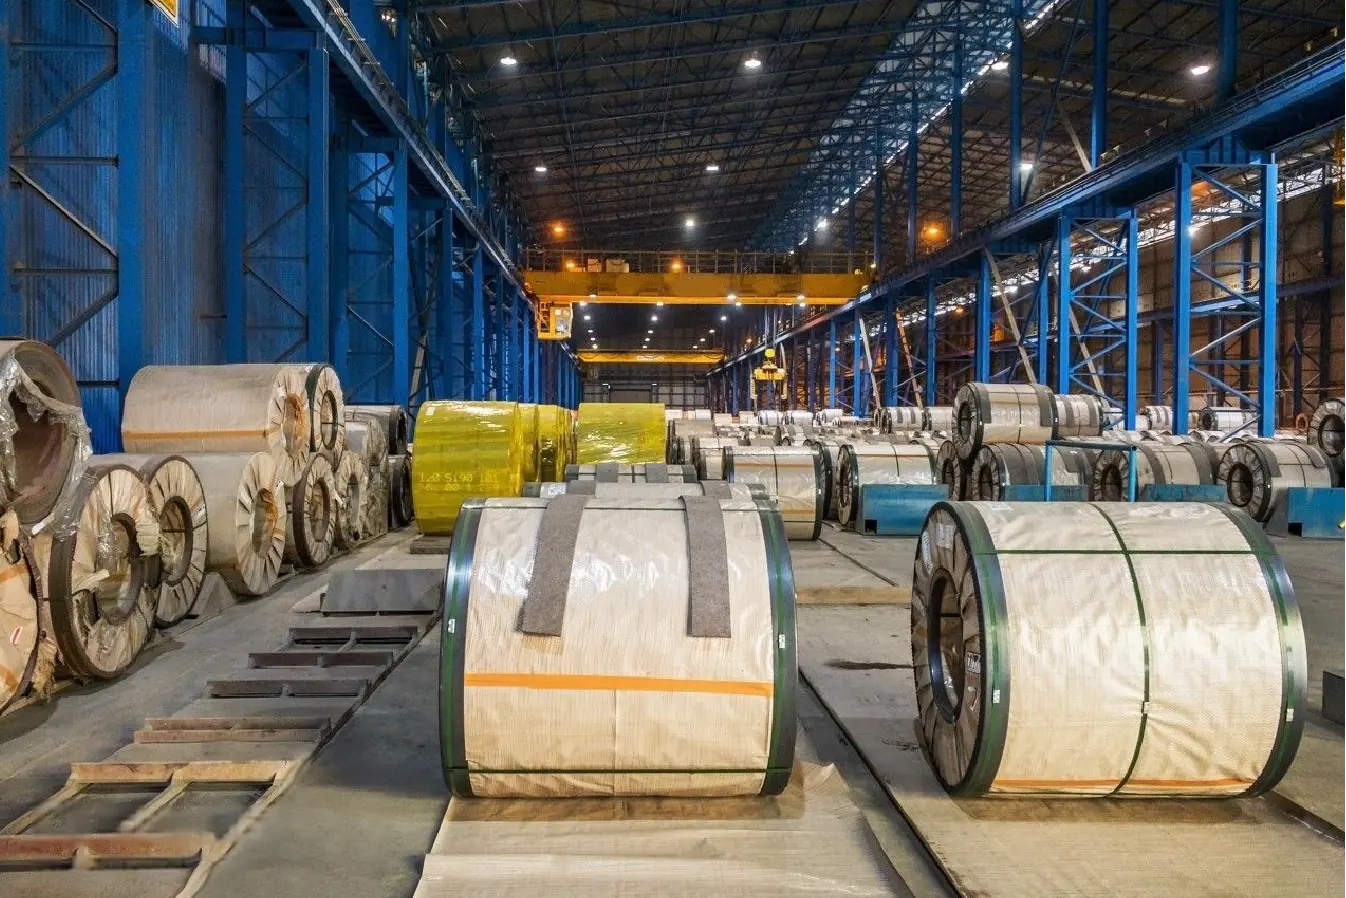
Best practices include secure packaging with appropriate banding and protective wrapping to prevent damage and corrosion. Coils should be handled carefully with proper equipment to avoid edge damage and stored in a clean, dry environment on stable skids or cradles to maintain their integrity.
Dive Deeper into Protecting Your Product
The final stage of the slitting process extends all the way to the moment the coil is loaded into your customer's machine. All the precision and care taken during slitting can be undone in minutes by a careless forklift operator or a leaky warehouse roof. This "last mile" of the process is critical for delivering on the promise of quality. It reflects the professionalism of your operation and ensures the material performs as expected.
Packaging for Protection
The right packaging is the first line of defense.
- Banding: Steel or plastic bands are used to secure the coil and prevent it from unwinding. The number and placement of bands depend on the coil's width and weight. Eye-to-sky or eye-to-the-wall banding patterns are used depending on how the coil will be stored and handled.
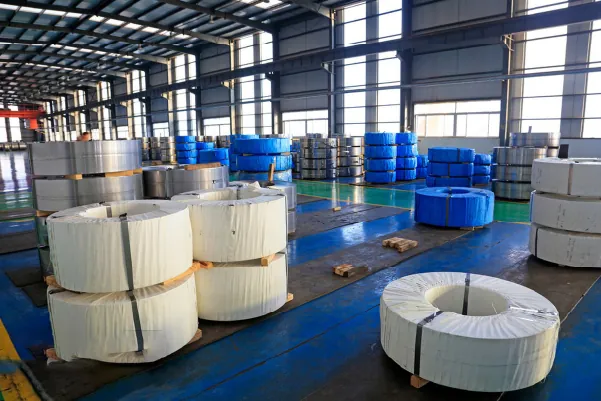
- Protective Wrapping: For sensitive surfaces, like a 2B or BA finish, interleaving paper can be used between the wraps of the coil. The entire coil is often wrapped in VCI (Vapor Corrosion Inhibitor) paper or plastic film to protect against moisture and corrosion during transit and storage.
- Skids and Cradles: Coils should never be placed directly on the floor. They are typically placed on custom-built wooden skids or cradles that support their weight and prevent them from rolling or deforming.
Handling and Storage Protocols
Clear protocols are essential for your team.
- Lifting: Use appropriate equipment like C-hooks or padded slings to lift coils. Forklift tines should never be inserted directly into the eye of the coil, as this can damage the inner wraps.
- Environment: Store coils in a dry, climate-controlled warehouse. Fluctuations in temperature can cause condensation to form, leading to water spots or rust.
- Stacking: If coils must be stacked, follow strict guidelines to ensure stability. Never stack coils of different diameters on top of each other.
By implementing these best practices, you ensure that the quality and precision you worked so hard to achieve in the slitting process are preserved until the material is ready for its final transformation.
Conclusion
Mastering stainless steel coil slitting is far more than a technical skill; it's a strategic imperative. It empowers manufacturers with the agility, precision, and cost-efficiency needed to thrive in today's competitive landscape. By viewing it as a core value-add, you unlock true manufacturing excellence.
Have Questions or Need More Information?
Get in touch with us for personalized assistance and expert advice.